Are you tired of the regular theme and want to create a custom WordPress theme? Then you will get the perfect solution here. Because in this article, we’ll show you how to create a custom theme in WordPress using Elementor theme builder.
Are you ready? Let’s go!
Finding a theme that is in all respects what we are looking for is almost impossible. For this reason, the big brands hire a developer to create a custom theme.
But now without being a big brand, using the Elementor theme builder, you can easily create a custom WordPress theme for your site.
Let’s Create Our Custom WordPress Theme
Before starting to build the structure, we think you have already thought about which structure your site should have.
Each type of site has a different structure, for example, a blog will have a homepage, a who I am page, a blog page, and a contact me page.
To create this custom theme you will need to create a custom template for the homepage, a similar one for the blog page and about us pages, a similar one for the posts.
It is necessary to create a template for the posts because you have to insert the widget that shows the blog.
The construction of this theme is much simpler than it may seem in fact all the pages will have some common elements, for example- Header and Footer, then depending on the type of pages you will have to insert the widgets that you need.
First, you need to have Elementor Pro to create a custom theme as we will show you in this article.
Choosing the Basic Theme
To create a custom theme, at first, you need to choose a basic theme that has little or no customization and it is fast. Because when you build the new custom theme, you don’t need any customization of the old theme.
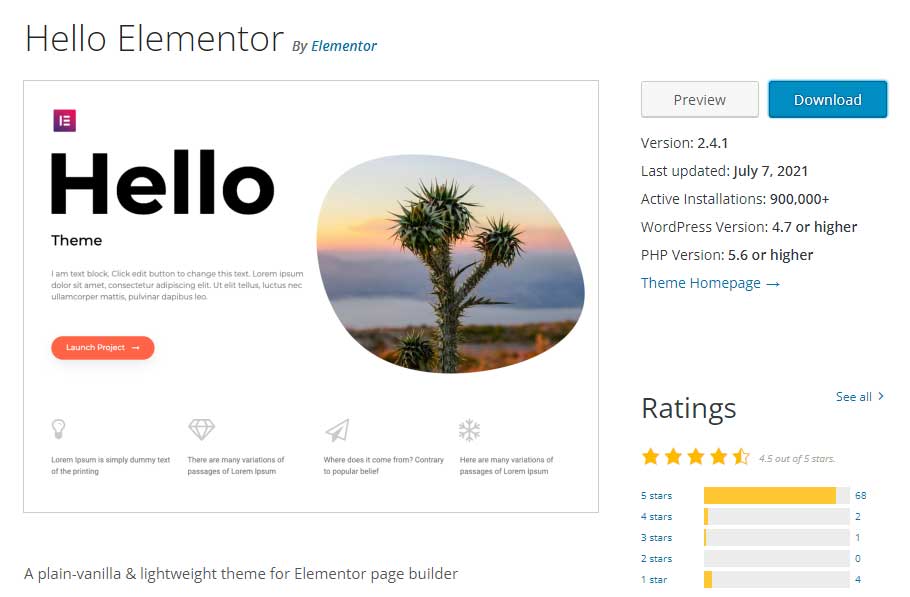
We usually use Elementor’s Hello Theme when building a custom theme.
Creation of the Theme
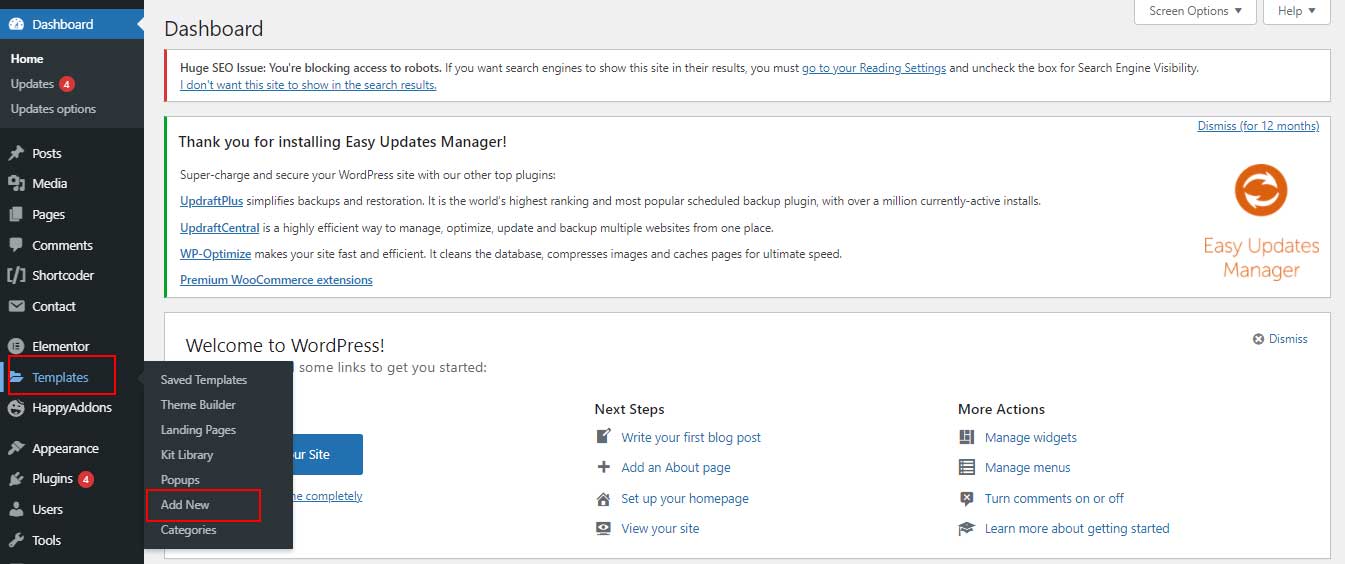
To create the theme first you need to go to Template> Add New
In the screen that opens, choose Single Post as the type of Template and then enter the name you want.
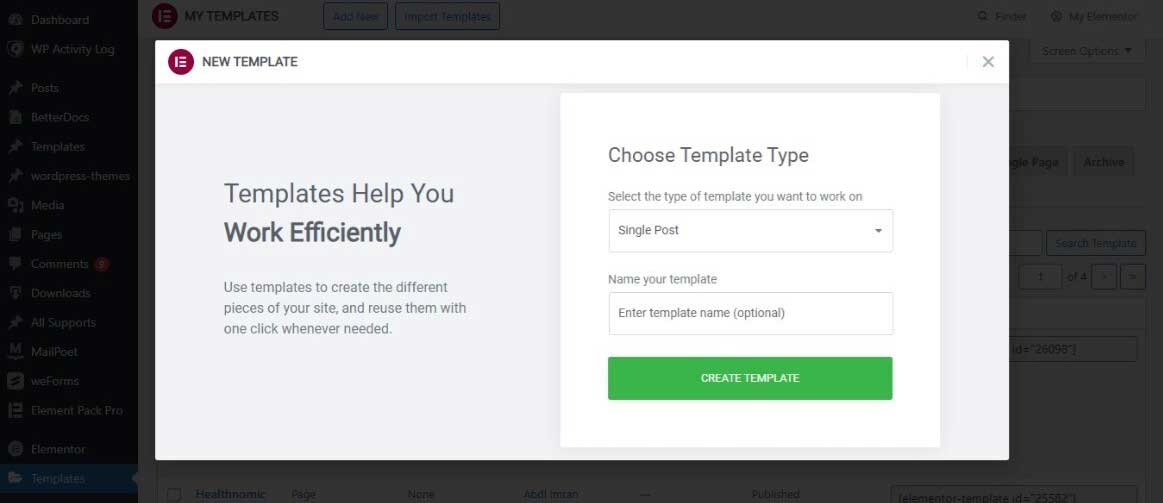
Click on Create Template button. The first thing that opens is the Elementor library that suggests you use ready-made template structures.
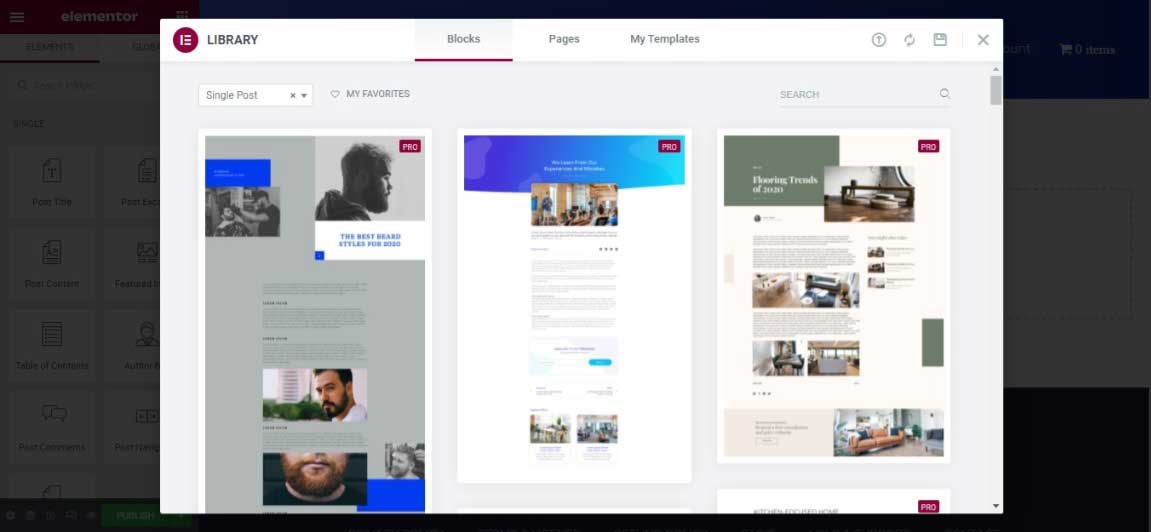
Or you can ask for the library and create your own customized structure. Here, we will show you this second option. Once the library is closed you will have your Elementor page.
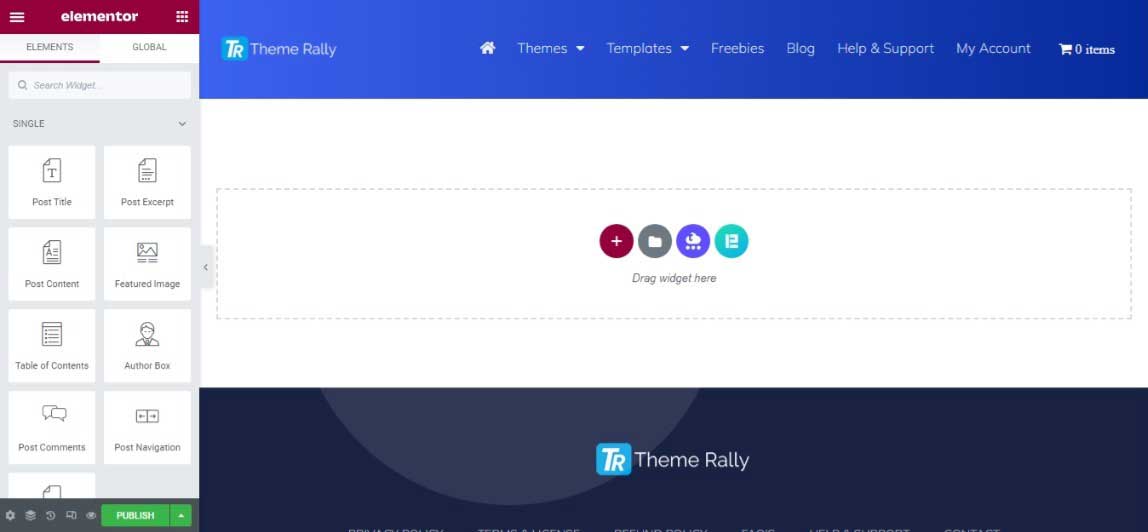
In the left column you will notice some new Elementor widgets, these widgets you will need when you going to create the templates for the pages.
The first page that we are going to create is the Home Page.
Home Page
First, let’s create a header and for this, you will have to use the widgets that you find in the site section.

Now you have a Header where you can insert the widgets you need on the page. The choice of widgets will depend on what you want to show on the Homepage.
In fact, you may decide that if you are building a blog section to show only a few blogs on the homepage and use the page to show other sections of the site then enter a presentation section, where you can present your written ebook.
The purpose of this article is to give you the tools to build your structure. For this reason, we will just show you how to do it.
Finally, you have to create the Footer.
The footer is nothing more than a section that we can create like all the other sections. Elementor provides you with footer templates that you can use and modify. Let’s see some tricks.
Copyright
To insert the copyright we suggest you use the ” Widget Shortcode “, once you have inserted this widget in the section, click on the dynamic in the left column above the box where you can insert the shortcode, in the menu that opens choose a current date. In the screen that opens, set the “Custom” date format and enter ” Y ” in the format field.
Then click on advanced, in the first field insert copyright © give a space after the symbol, go to the field then give space and insert the name of the site.
Privacy Link
You can insert a link to the privacy page. To do this you can use either the Header widget or the Text Widget to enter the word privacy or whatever you want. And then insert the link in the link field of the chosen widget.
Another way is to create a menu with only the privacy item or with the links you want to insert and then insert the menu widget in the section.
Well, now your homepage should be ready.
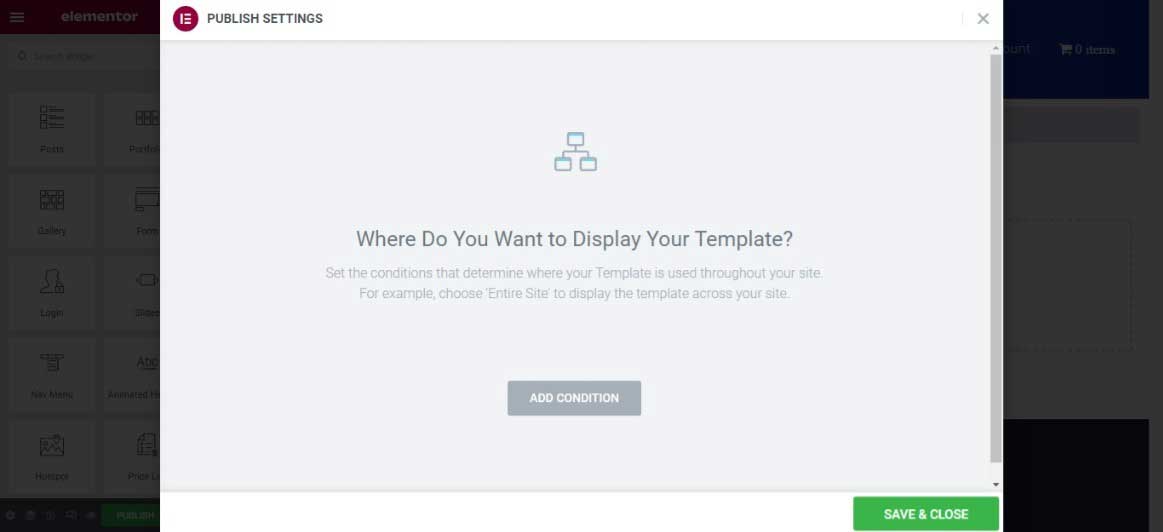
The last thing you need to do is to publish the page, when you click on the publish button a screen called Publish Settings will open.
In this screen, you have to choose where to apply the template you created. In the example we have done, the template will have to be applied only to the Homepage.
To do this you have to click on “ Add Condition ” and select the Main page as shown in the image.
Now that you have created the homepage. You need to create the templates for the other pages.
Page Templates
If you have created the Header and Footer for the Homepage and these are the same for other pages, you can speed up the creation of the templates by right-clicking on the section that contains the Header. In the menu that opens, choose the save as a template. The same thing must be done for the section that contains the Footer.
To create the templates for the pages, you have to repeat the same process as for the homepage. This time you will just need to create or insert the header and footer created earlier.
Let’s see how to do it
First, you again have to go to Template> Add New.
On the screen, the Template Type field always chooses “Single Post”. Once you have entered a name click on “Create Template” as we have already seen.
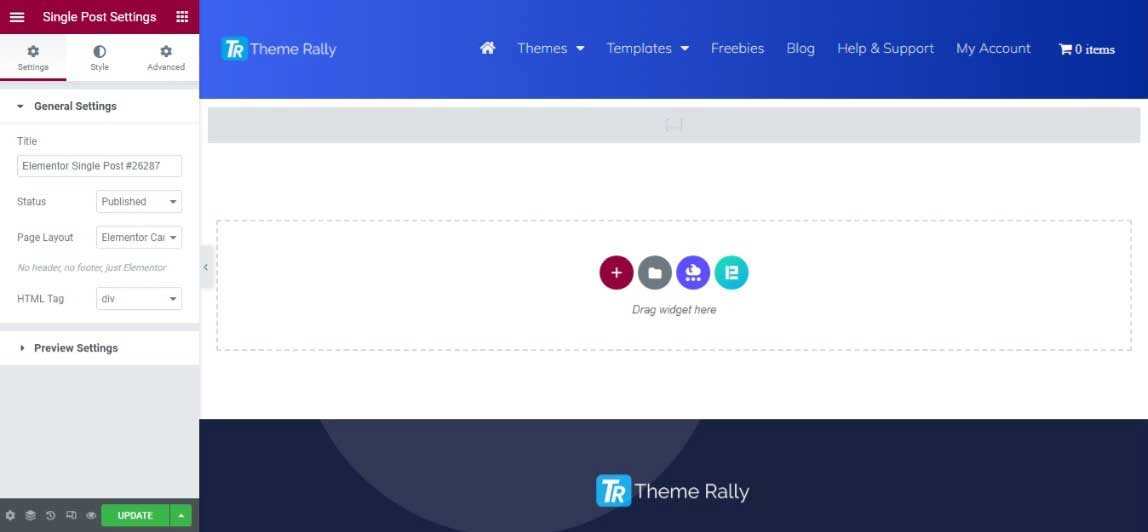
Once again Elementor will propose to you some structures that are already created. Close the window and move on. The first thing you need to do now is to delete the default theme header. To do this, go to the bottom left and click on settings and choose Elementor Canvas as the layout.
You have already created the Header. You can now use the Template widget and then call up your header from the menu.
If you have not previously created a Header or do not want to use the homepage, then create the new Header. The time has come to use the new Widgets that have appeared in the left column
If you want the title to appear on your pages, you need to use the Post Title Widget.
With WordPress editor, you don’t have to create a page with elements to bring up the content of the pages you have inserted. But for this, you need to use the Post Content Widget.
In this way, the content that you have already inserted into the pages will also appear with the new template. The creation of the theme is personal so we can only tell you which widgets to use for the construction of the pages.
- Post Title
- Post Content
- Featured Image
Now that you have the tools, it’s up to you to combine them to create the theme you like the most.
Finally, you have to insert the Footer. The procedure is the same as you used for the Header through the use of the Template widget or the creation from scratch that we have shown you in this article.
Now you have created the structure that you just have to apply to the pages. Doing that is very simple as we have seen.
Click on Publish
In the Publishing Setup screen, click on add condition and insert all pages as shown in the image.

If you want you can also exclude pages by clicking on add condition but by changing the first field to exclude or selecting the pages that you want to exclude. Now the theme will apply to all pages on the site.
Blog
To customize the page of the single blogs you can use all the Widgets of the single menu. Of course, you will have to create a new template and insert the widgets. In the display conditions, you have to choose all the blogs.
And lastly, if you want to add a contact form to your newly created theme you can read our How to Create an Elementor Multistep Form article.
Conclusion
Creating a custom theme for your brand is one of the success factors because it increases recognition and in this article, we have seen how to use Elementor theme builder to create a custom WordPress theme for your site with a step-by-step procedure.
Well, we hope you enjoyed this article and if you have any questions or face any problems please join our Theme Rally Community to ask your questions.